Showing posts with label Crystal Schneider. Show all posts

Silly Sloth Box Card

Happy Monday crafty friends!

Wow this summer is flying by soon school by kiddos will be back in school. I'm having a hard time believing it is already July 1st. 


This week I had fun playing with the Silly Sloths stamp set by Sunny Studio Stamps. I have been really enjoying making box cards. I had always thought they looked really complicated to make but once you make one and know the measurements they come together fast. 


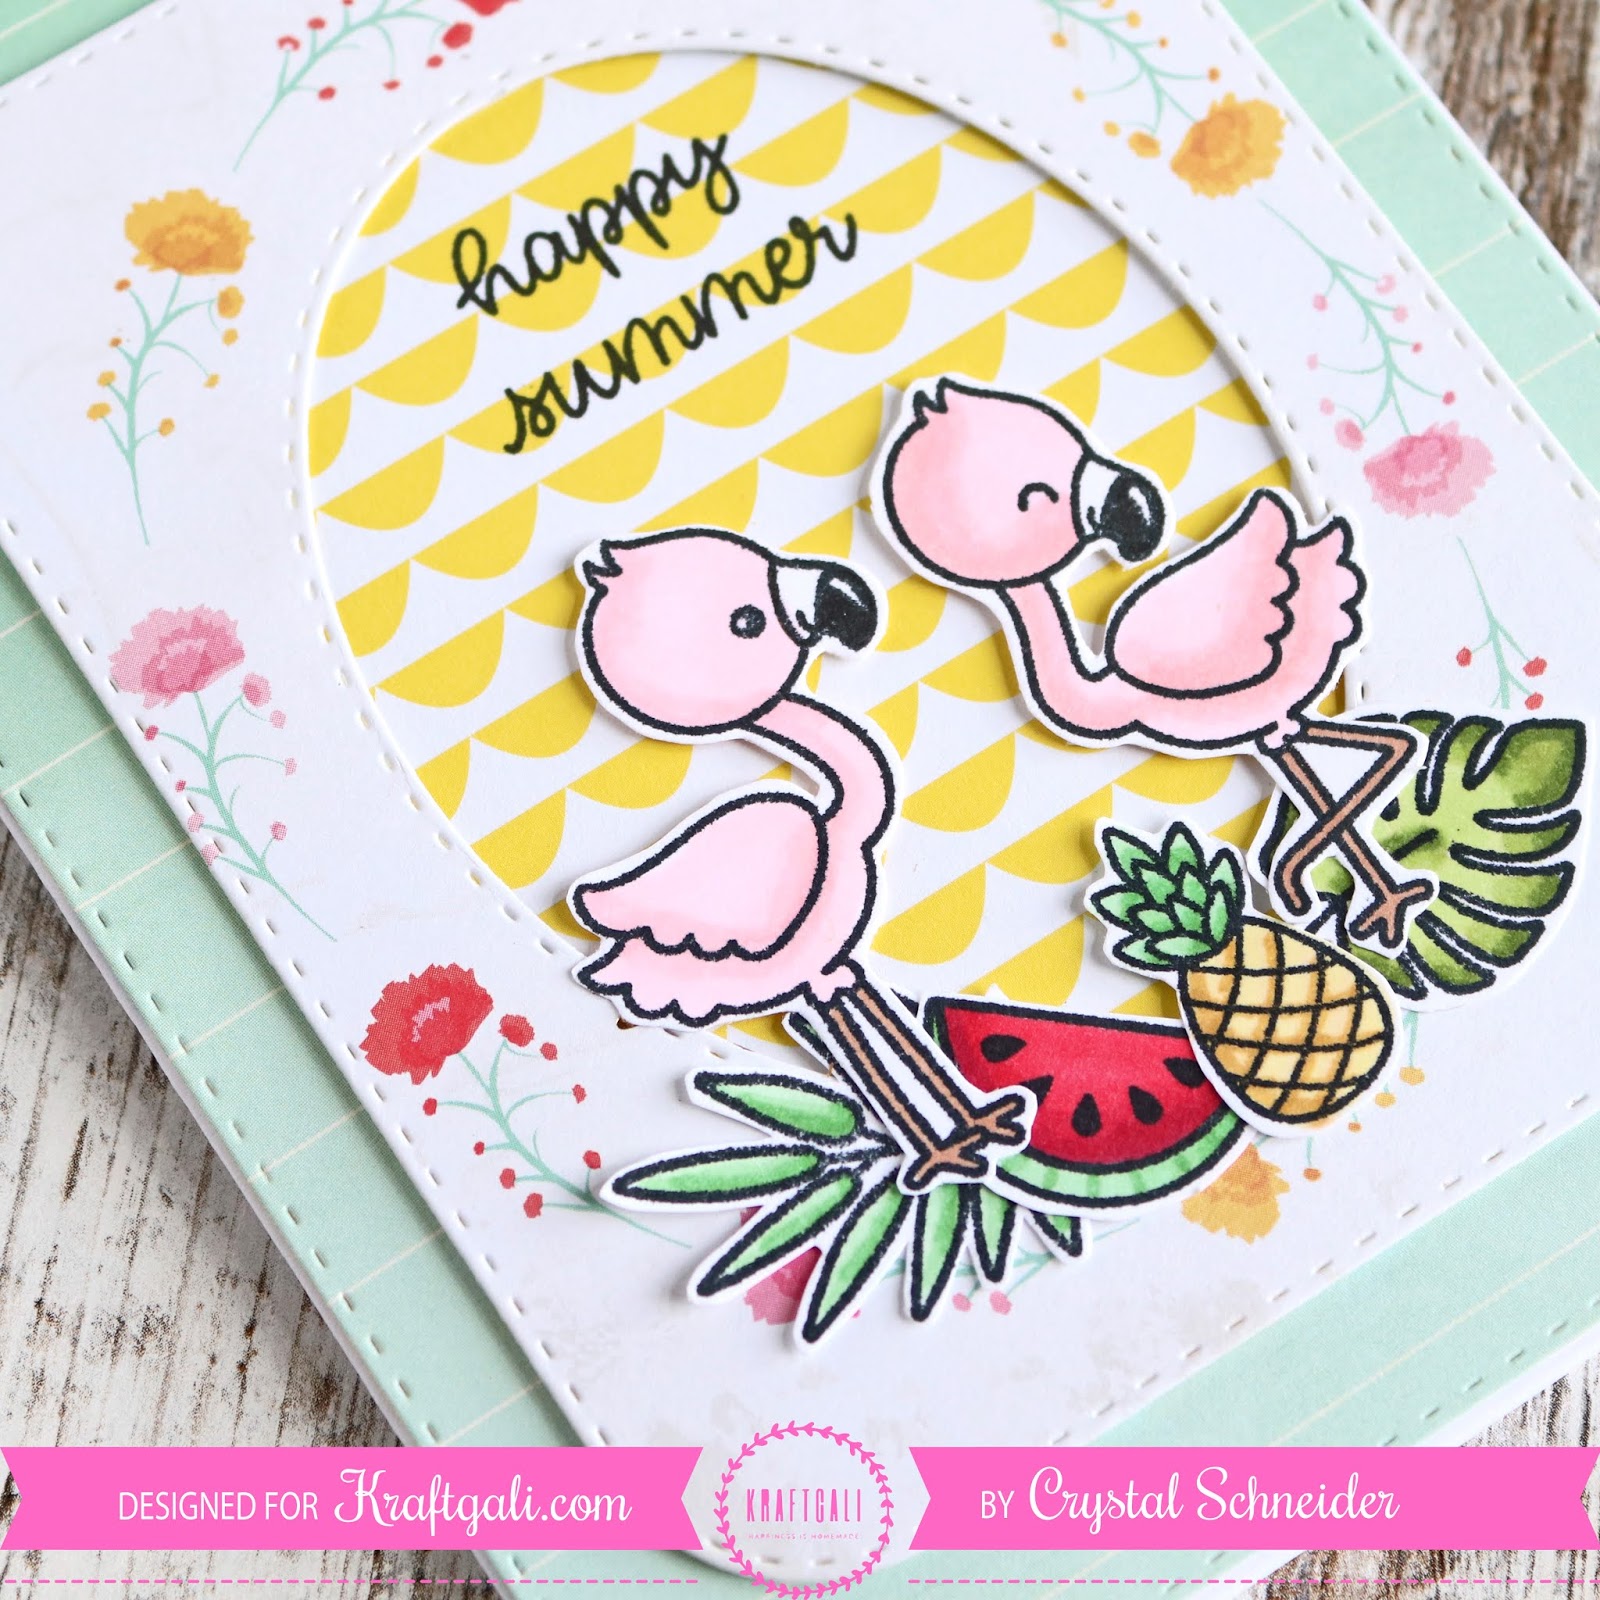
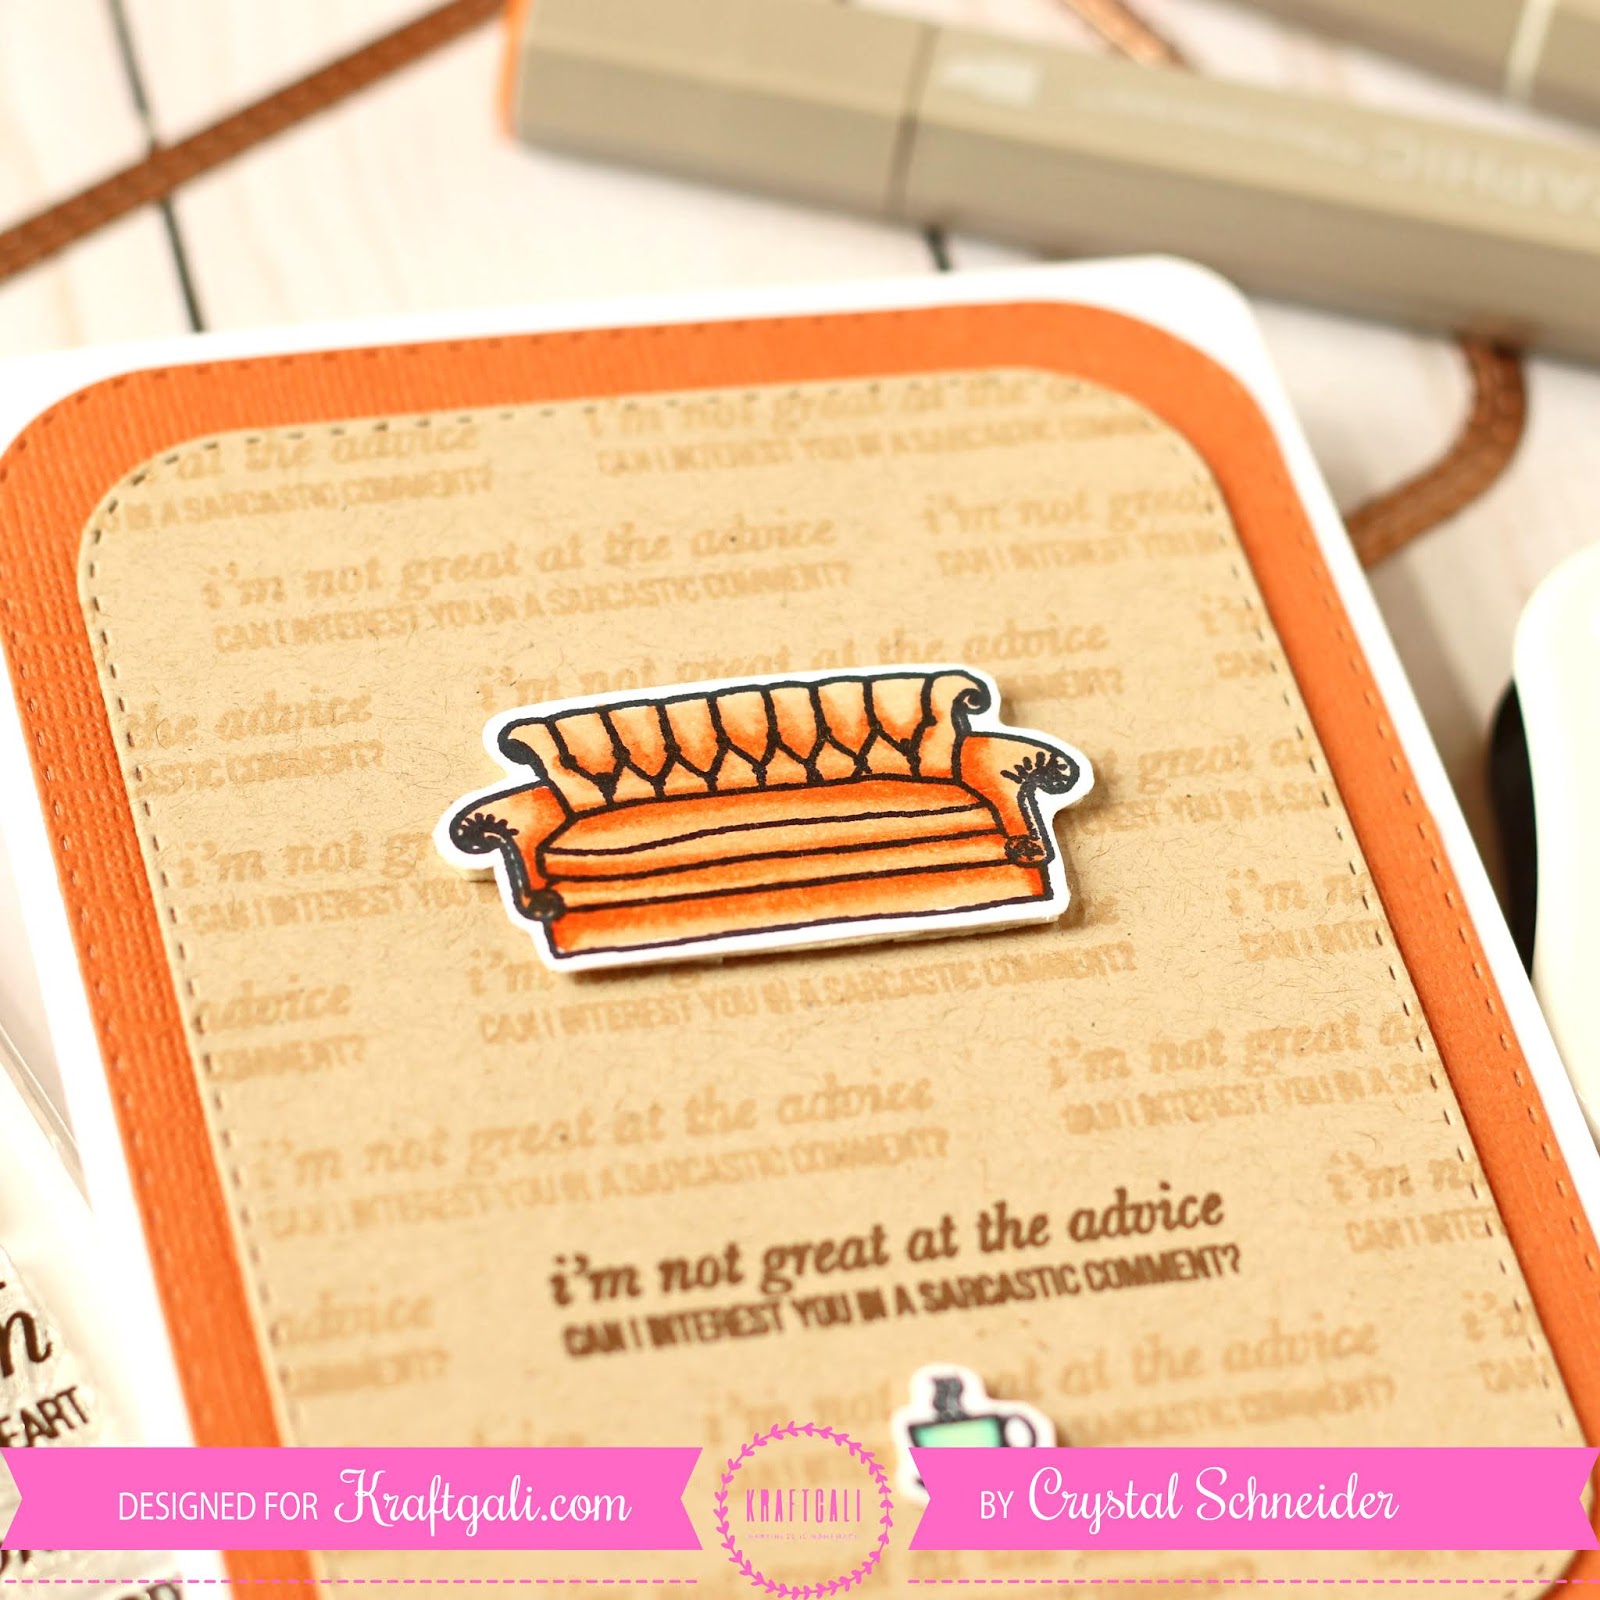
I stamped all of the images into smooth card stock with Memento black ink and colored them in with Spectrum Noir markers. I fussy cut them all out.  I use a strip of acetate to attach all of the sloths and plants to the card.


I think this sentiment is too cute. "Have a Slothsome Birthday".


I used Black Nuvo drops on all of the sloths noses to give a little bit of dimension and shine to the noses. 


I think the back is perfect for a little note to be written. I had a n extra sloth so I adhered him at the took like he is looking over the note. 


Have a great week and I will be back next Monday!

~Crystal 


Happy Summer Flamingo Card

Hi crafty friends! How was your weekend? Mine was hot and very humid sure feels like summer here finally. 


Today I have a Happy Summer card to share using the Fabulous- Flamingos stamp set  by Sunny Studio Stamps.


I started by stamping the images with Memento black ink onto smooth card stock then colored them in with Spectrum Noir Alcohol markers. I then fussy cut them all out.


I die cut a stitched rectangle out of pattern paper. Secondly I die cut a rounded corner stitched rectangle out of pattern paper.  The center of the pattern paper had a quote that I did not want on the card but I loved the flowers in the shape of a oval so I die cut the center out and backed it with some bright yellow pattern paper. 


I arranged the the fruit and a couple leaves onto the bottom of the oval and layered two flamingos over them.  I had a lot of open space above the flamingos heads so I ended up stamping the sentiment "Happy Summer" above them.


Thanks for stopping by have a great week! 
~Crystal 


Lawn Fawn Village Box Card

Happy Monday crafty friends! I hope you all had a great weekend mine was crazy busy we just finished a season of dance with a recital. 

We are getting into the busy days of summer. My daughter had a birthday a couple of weeks ago so the card I have to share is the one I gave her. 


I just learned how to make a box card this is my second one. I'm not sure why I took so long to learn they are easy and so much fun. I will be making many more in the future. 


I enjoy just coloring small images and fussy cutting them out when watching t.v. with my family so I always have extra pieces laying around for box cards. 


I cut all of my panels out of Bella Blvd. pattern paper. 


For this card I used Lawn Fawn's Village set I stamped all of the images onto water color paper and colored them in with Arteza real brushes before I fussy cut them out. 


This is a front view of the card. I adhered a white piece of card stock to the back panel so I could write a little message to my daughter and sign the card. I think the back is perfect for a little panel to write on because when the card is displayed that panel is not shown.


Here is a side view. I thought the house paper would go with the little village inside of the card. 


The other side of the card. 

Have a great week I will be back next Monday! 
~Crystal 

Lawn Fawn Farm Animals Birthday Card.

Happy Monday!

WOW I can't believe we are already into June! 

This week I wanted to play with Lawn Fawn's Hay There stamp set. My daughter wanted a card for her music teacher for her birthday and too say goodbye because she will be teaching at a different school next year. 


I started by stamping all of  the images onto smooth cardstock with Momento black ink which is my favorite to stamp images in that I want to color with alcohol markers it dries fast and doesn't bleed at all with the markers. 


After I colored them all in I fussy cut them out.  I found some pattern green and blue paper to use for the scene with the animals. 


I matted the scene onto soft blue cardstock then onto flower pattern carstock. I made sure the pattern had red I felt it needed more red so the barn was not the only think on the card which was red. 


I don't normally do anything inside of my cards but this time I thought it would be cute to add the little sheep inside and stamp the sentiment "EWE ARE THE BEST" underneath it. 


I add the sentiment "HAPPY BIRTHDAY" on the top above the animals and "FROM THE WHOLE HERD" underneath the animals. I though this sentiment was cute for a teacher from many students in her class. 


Thanks for stopping by today! Hope you have a great week!
~Crystal

I Have So Mushroom in My Heart For You

Happy Monday crafty friends! 


This week I have a card to share using Lawn Fawn's Oh Gnome stamp set. I started this card out by stamping the largest mushroom on the front of my paper then masking it to stamp the other mushrooms on either side. I then masked the smaller mushrooms and stamped the flowers. 

If masking is new to you I just use a full sticky post-it not stamp the image onto it then fussy cut it out. I fussy cut out as close to the line as I can or even cut the line off. Lawn Fawn images are perfect for masking the lines are very thick and the images are easy to cut out perfect if you are new to masking.


After I stamped the mushrooms and flowers I stamped the adorable gnomes. I masked them off and worked on inking my background. After the inking was done my gnomes looked a little funny to me so I re-masked them and stamped the flowers along the inked grass line.

Another tip if you are masking after you are done masking keep those masks so you can use them on another project! I just stick them to the acetate that the stamps are stored on.   


After I colored all of the images in using alcohol markers I die cut a rectangle with a circle out of the middle to frame my scene. I adhered the red cardstock over the scene using foam tape to add some dimension to the card. 


I stamped part of the sentiment "i have so MUSHROOM" on top of the circle and the other half "in my heart for you" under the circle. I heat set it with white embossing powder. The sentiment stamps are straight so to get a curve from them I used a piece of acetate over my project to shape the stamp then closed my stamp positioner and it picked the stamp up in the curve I wanted. 


Thanks for stopping by today.

Make sure and check out the shop for the sale going on now!

 I hope you have a great week!
~Crystal 

From The Whole Herd

Hi Crafty Friends! 

Do you ever have a card all set in your head the way you plan on making it and nothing goes right? Well this was one of those cards for me. 

For the card I have to share this Monday I used Lawn Fawn's Hay There stamp set! 


I knew when I started making this card I wanted the animals from the stamp set to be next to each other. I started by stamping the chicken in the front center and masked him off and stamped the goat and pig on either side of him then masked them to stamp the cow and horse.


My plan was to mask the cow and horse and in the background but ended up not liking the background. So after all of the background was inked and I die cut it out I didn't like it at all so I fussy cut the animals out. 

I put foam tape onto the back of the animals and attached to a background and then attached the background to pattern paper with foam tape but didn't like the look of it. This card was not coming together the way I had it pictured at all. But since I had used foam tape I couldn't pull it apart so I ended up fussy cutting the animals out again. 


I really wanted the animals to pop so in the end I adhered them to a very simple pattern paper background matted onto a busy pattern paper. I stamped the sentiment onto black cardstock and heat set it with white embossing powder.  


Thanks for stopping by have a great week!
~Crystal 

Friends Couch Stamp Card

Happy Monday!

This Monday I have a card to share using Ink Roads The one with all the stamps set. Friends is my favorite show ever. I have seen every episode multiple times. 


This card was fun to make and came together fairly fast.  The most time consuming part was stamping the sentiment over and over on the background paper.  


I stamped the sentiment all over in a light brow then once in a dark brown to help it stand out. "i'm not great at the advice CAN I INTEREST YOU IN A SARCASTIC COMMENT?" 


I stamped the couch and coffee cup onto smooth white card stock in Memento ink and colored them in with alcohol markers. I then fussy cut them out. 


I matted the background paper onto orange cardstock to match the couch. I adhered the couch and coffee cup to the Kraft cardstock with foam tape for some dimension. I then adhered the whole panel to a 5 1/2" x 4 1/4" card base. 


Have a great week! 

~Crystal 


You're The Avocado To My Toast Picture Changer Card

Happy Monday! I hope everyone had a great weekend. 

This weekend I played with Lawn Fawn's  Magic Picture Changer and Lets Toast stamp set. Lawn Fawn's Magic picture changer die set has so many possibilities. I will be playing with that die set so many times. 


I started with an avocado on the front and used the sentiment "YOU'RE THE AVOCADO TO MY TOAST" 


When you pull the tab up you see the avocado with a piece of toast. I then stamped a few hearts on the bottom left corner. 


Thanks for stopping by today. Hope you have a great week!

~Crystal 


Lawn Fawn Turtle Card

Good Morning! Hope everyone had a great weekend! Our weather was beautiful here. If you have seen my posts on Mondays you know I'm a big fan of Lawn Fawns so it won't come as a surprise that I made a card this week using Lawn Fawn. 


I used the Magic picture changer die I love all of the different ways you can use it for changing pictures I will for sure be using this die many times. I have so many different ideas floating around in my head. For this first card with this die I used the Get well before-n-afters stamp set.  


This little turtle stuck on his back is so cute. 


I stamped the turtle and then masked him to ink the background I added ink in a hill shape and inked a blue sky. For a little interest I stamped some clouds in the sky.


Well when I stamped the turtle standing on his feet I didn't realize it but I stamped him a little high up so I just went with it. I added some flowers on the hill. 


I like the sentiment "Hope you're back on your feet soon" it's cute and can be used for many reasons. 


Thanks for stopping by and hope you have a great Monday!
~Crystal