Lawn Fawn Turtle Card

Good Morning! Hope everyone had a great weekend! Our weather was beautiful here. If you have seen my posts on Mondays you know I'm a big fan of Lawn Fawns so it won't come as a surprise that I made a card this week using Lawn Fawn. 


I used the Magic picture changer die I love all of the different ways you can use it for changing pictures I will for sure be using this die many times. I have so many different ideas floating around in my head. For this first card with this die I used the Get well before-n-afters stamp set.  


This little turtle stuck on his back is so cute. 


I stamped the turtle and then masked him to ink the background I added ink in a hill shape and inked a blue sky. For a little interest I stamped some clouds in the sky.


Well when I stamped the turtle standing on his feet I didn't realize it but I stamped him a little high up so I just went with it. I added some flowers on the hill. 


I like the sentiment "Hope you're back on your feet soon" it's cute and can be used for many reasons. 


Thanks for stopping by and hope you have a great Monday!
~Crystal 

Happy Belated Birthday, Gnome Style!

Morning Crafty friends!
Today I am bringing you a super fun and interactive slim line card using a few of the Lawn Fawn stamp sets from Kraftgali!  I used the Oh Gnome, Llama, & Rain or Shine stamp sets from Lawn Fawn.


I started the base of my slim line card by trimming a piece of 8 1/2 x 11 thick white cardstock to an
8 1/2 x 3 1/2 base.  I used the left over piece to trim to fit on the front! This size fits perfect in a 9A envelope even with the extra thickness of pop dotting!

On the front piece, I inked the top half with tumbled glass oxide ink and die cut the stitched notch from the Lawn Fawn pull tab die.  Next, I die cut the grass out of green pattern paper to create the two layers, gluing the back layer down.


I stamped all the gnomes, flowers, quote bubbles, llama, and clouds, colored with copic markers, and fussy cut out.  I set them aside other than the sitting gnome and the present and added them to the pull tab with glue dots through the die cut notch on the card front.  I also die cut the arrow flap and glued to the trimmed pull tab.


Now that I finished the interactive piece, I laid out all my colored images and then pop dotted and glued to give a lot of depth to the front.  To finish the card, I stamped the sentiment on leftover thick white cardstock, trimmed, and pop dotted along the center bottom.  I love that the slim line card could fit this sentiment all on one strip!

Thank you for stopping by and I hope to see your creations on Kraftgali Fan Club on Facebook!  Also, take some time to see all the top brands in the Kraftgali shop!

See you here next Thursday for some more inspiration!
Candice

Thank You Cards for a Gift

Hi crafty friends! 

I'm back again this Monday playing with Avery Elle's Cool Treats Stamp setThis week I made a set of thank you card which I think would be perfect to give to a friend.

I started by stamping the middle image onto watercolor cardstock and masked the middle one off and stamped the two sides and then masked them and stamped the last two on the side. I did the same for all four cards but did stamped them all differently. I water colored them all in and then fussy cut them out. 


I used some old scrapbook paper and stamped "Thank You" towards the top and "You're so sweet" towards the bottom.


I adhered the treats in the middle of the sentiments with foam tape.


Then matted the pattern cardstock with the sentiments and treats onto more pattern paper.


Lastly I adhered everything to a top fold 5 1/5" X 4 1/4" card base. 


I placed a envelop behind every card and tied a ribbon around the stack of cards with a big bow on the front.


Now the Thank you card set is all ready to give to a friend. 


Thank you for stopping by today. Hope you have a great week and I will see you again next Monday!
~Crystal 

Lawn Fawn Happy Trails


Hello everyone!  Today's project is using this absolutely adorable set from Lawn Fawn called Happy Trails!  Although this scene card might seem complicated, it came together very quickly.  With a little bit of ink blending, and some coloring of these great images, this "bon voyage" themed card is perfect for someone headed out on a road trip.  Check out the video for a step by step on how to put it together.  Thanks so much for stopping by!


Lawn Fawn Let's Toast Anniversary Card

Welcome Friends!
Today I went back to one of my favorite stamp sets, Lawn Fawn's Let's Toast stamp and die set, and created this fun anniversary card.


The slim line card is a perfect size to add lots of the images and sentiments from the Let's Toast stamp set.  For my slim line cards I use one 81/2 x 11 sheet of thick cardstock and trim to make a 31/2 x 81/2 base.  This gives you enough left over to use as your piece on the front of the card!  It also fits into the size 9 envelopes!
I started my card by die cutting three stitched circles on the front white piece making sure there was space to add my sentiments banners and added to the card with pop dots.  I die cut three more stitched circles from watercolor paper for easy blending when I ink them.


The top section I stamped the toast and avocado, colored with copic markers, and die cut with the coordinating dies.  I added a green heart with mowed lawn oxide ink.  I then inked the stitched circle with mowed lawn and shabby shutters and stamped the You're and glued inside the circle.  I added the toast and avocado with pop dots.


For the middle section, I inked the stitched circle with dusty concord and milled lavender oxide inks and stamped the You're sentiment gluing to the card.  Next, I stamped the two toasts, colored with copic markers, and die cut out with the coordinating dies.  The hearts I stamped in dusty concord and tea dye oxide inks.  I then pop dotted the two toasts.


For the bottom circle, I inked the stitched circle with tumbled glass and broken china and glued to the card.  I then stamped the gingham pattern with pumice stone and stamped the toaster and fussy cut out to give it a sharper edge.  I then stamped the sentiment onto the bottom of the toaster and die cut the slits for the toast.  Next, I stamped the two toasts, colored with copic markers, die cut out with the coordinating dies, and stamped the hearts with mustard seed oxide ink.  I glued the toasts through the slits and then pop dotted the whole toaster on the circle.


To finish the card, I trimmed some thick black cardstock to fit the sentiments, stamped with versamark ink and heat embossed in white embossing powder, trimmed the edges and pop dotted below the circles.  I then stamped the butter and knife, colored with copics, die cut with coordinating dies and pop dotted next to the banner.  For the final touch, I added sequins in blue, purple, and green.

I would love to see your slim line cards, please share with us on the Kraftgali Fan Club on Facebook and come visit the Kraftgali store to see what is new!

Thanks for visiting and see you next Thursday!
Candice

Using a Stamp Set to Make Your Own Background Paper

Hi crafty friends! 
This weather we have been having has been crazy one day at the park and out for ice cream because it was in the 80s then a few days later it was cold and we even got some snow. 

I'm really ready for some summer weather to stay so this Monday I have a card to share made with Avery Elle's adorable Cool Treats Stamp set

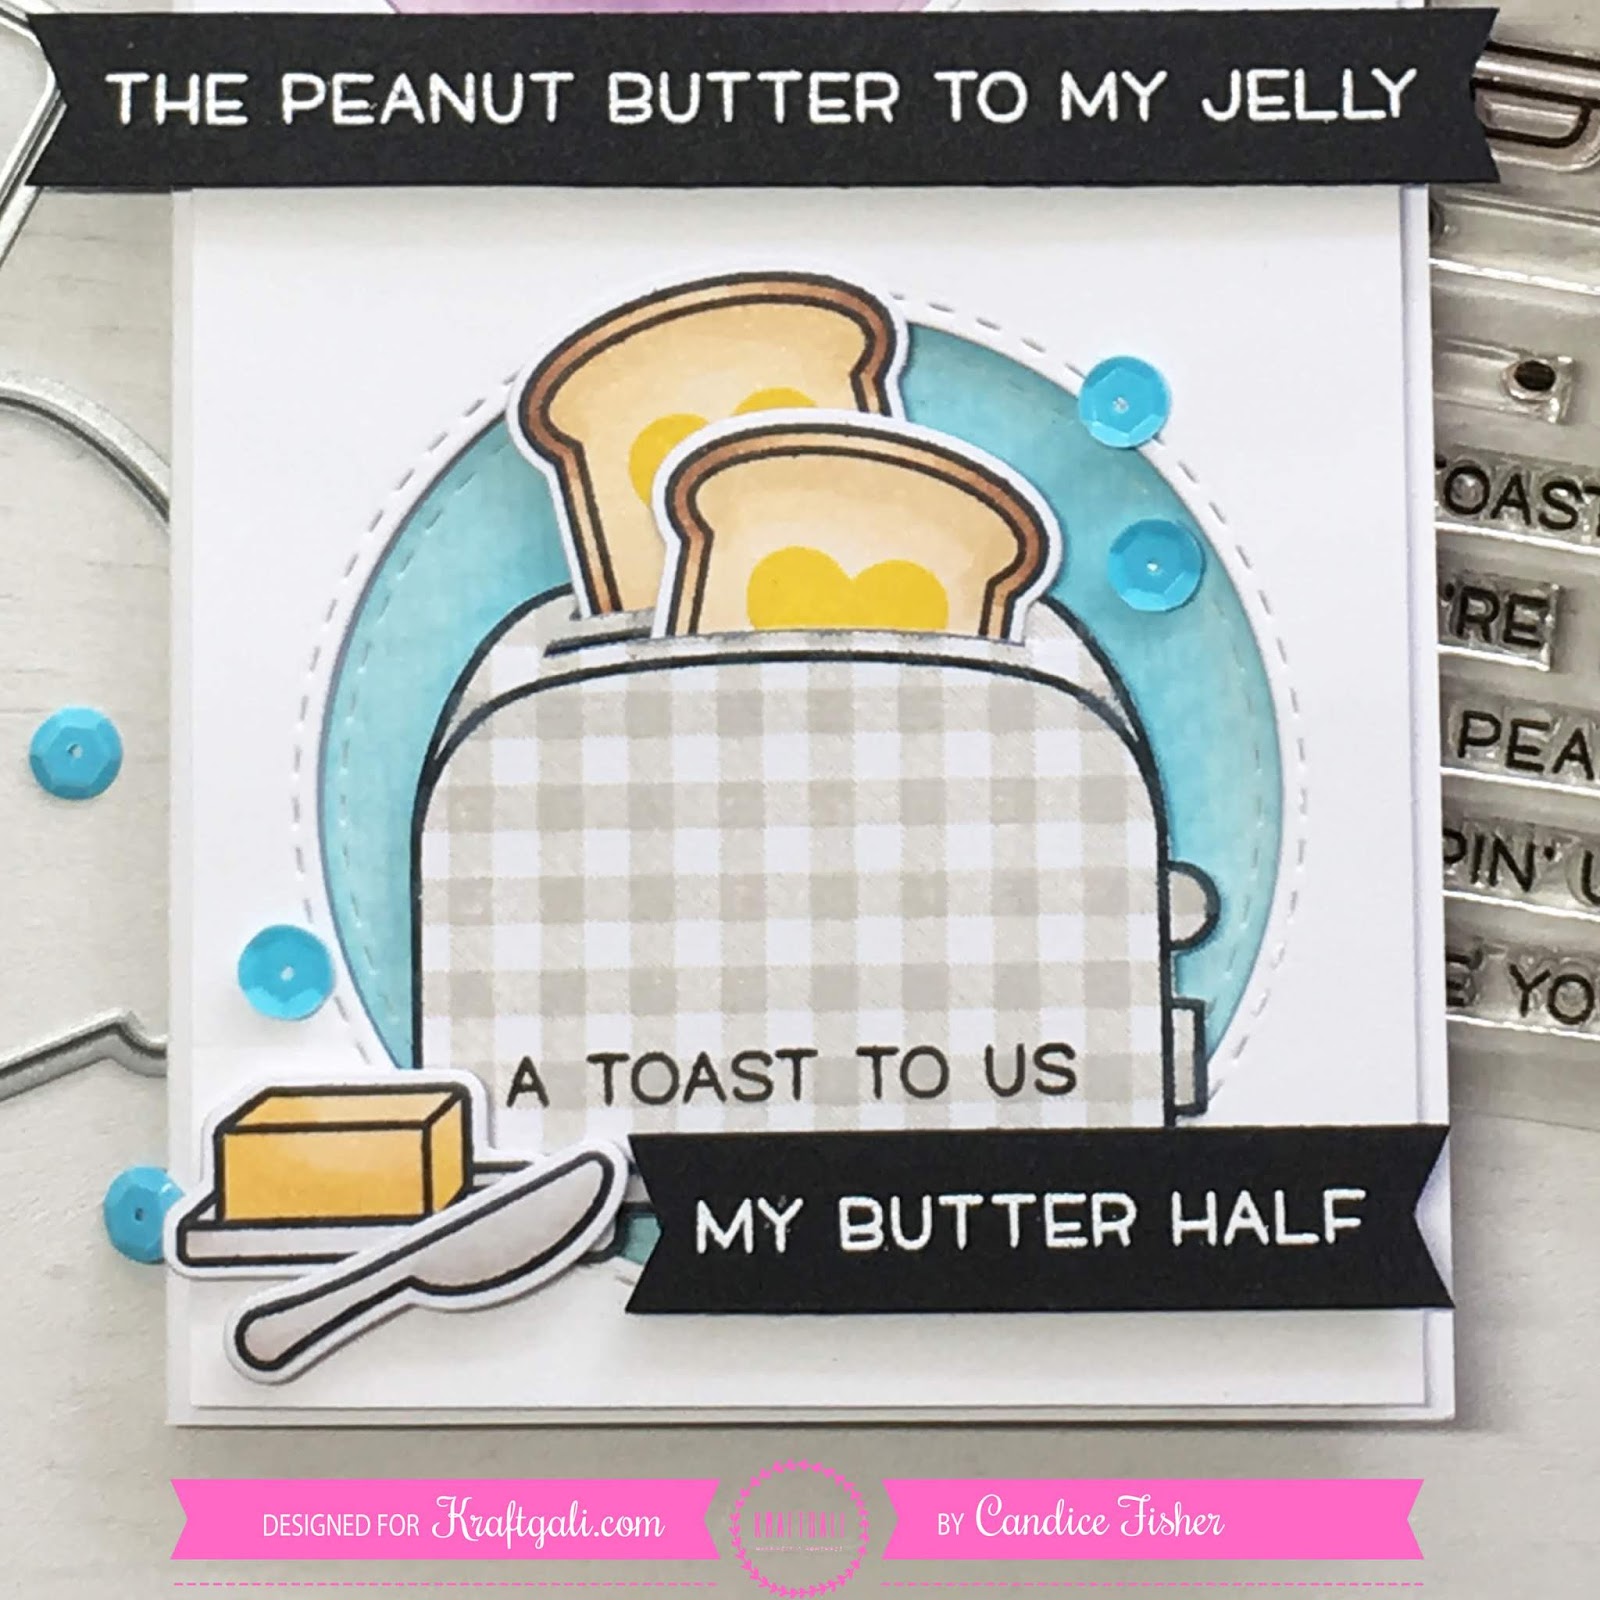
I started by stamping all of the images onto a smooth 8 1/2"X 11" sheet of cardstock in different directions to keep them as close together as I could. I used my Tim Holtz stamp platform to make it easier to re stamp if I didn't get a clear image. 


After all of the images where stamped in Momento black ink I colored them all in with alcohol markers. I really didn't want to cut into the background when I was done it looked so cool. I love all of the bright colors. I did give in and started to die cut into the large piece. I ended up getting four cards made with my background paper. 


For my first card I matted the pattern paper onto some glitter cardstock and two different colors of cardstock.  


My first card was kept simple I stamped the sentiment and die cut a banner out of it. 


My second card I made a frame with my pattern paper and adhered it with foam tape. 


I fussy cut some of the treats for the center of the card and stamped the sentiment below the treats. 


My third card was almost the same as the first but a added a larger matte of glitter cardstock. 


After all of the coloring I didn't want to color to much of the paper up. 


For my fourth and last card I added a die cut stitched circle in the middle with glitter cardstock coming out of the sides. 


I added a snow cone with some Clear Nuvo drops over the top of the snow cone to give it a glazed look. For the sentiment I curved the stamp up to give it a  little circle shape. 

Thanks for stopping by today! Hope you have  a great week. 

~Crystal 

Easter Chicks by Avery Elle | Kraftgali

Hello everyone, thank you so much for stopping by the blog.  Today’s project for Kraftgali features this adorable Easter Chicks set by Avery Elle.  It is just so fun to play with.  I didn’t want to leave out any of the images so this card will include every last one!  I am doing a bit of masking on the card as well so that I can try to keep it as flat as possible.  Also, when images are this small, it is a little bit harder to cut them out so masking is a great way to be able to color both the images and the backgrounds on the same piece of cardstock.  Lastly, we are pulling this card together with lots of Distress Oxide and just a little bit of alcohol marker coloring.  Thanks so much for stopping by! 


A Sweet Pet Sympathy Interactive Card

Hello my crafty friends!
Do I have a fun interactive card for you today!  I have been wanting to make this rain effect card ever since I saw Laura Dovalo create her amazing rain shaker card.  Here is the link to her video tutorial on rain shaker card as you will want to try this genius idea!


To start my card I created a card base of 5 x 6 1/2 from thick white cardstock.  The next step I trimmed watercolor paper a little smaller than my card base and inked with oxide inks in blueprint sketch, shaded lilac, and milled lavender.  I always use watercolor paper for my oxide inks because it gives such a smooth blend between colors, you can find some watercolor paper here.

I adhered this to the card base and using a ruler, marked my measured lines on the top and bottom and adhered the clear sewing thread with gold beads.  This is where you can follow Laura Dovalo's video tutorial, link above.


The adding beads and thread is time consuming but sooo worth it, especially when you can play with it when done! 
For the rest of the card, I die cut some stitched scalloped clouds from thick white cardstock and stamped the sentiment along the bottom one.  I added these with extra high pop dots to let the beads move freely under them. 
I stamped the ever adorable kitties from Avery Elle's All of Us stamp set, loving that they are all together and no masking required!  I colored them with copic markers and fussy cut them out. 


I added two rows, pop dotting behind each layer to give depth and added the cloud over the bottom row of kitties.  Next to the sentiment, I added one little kitty on a stitched cloud and added a silver glitter heart.  I kept it simple since it is a pet sympathy card and I wanted the rain effect to be the focus. 

Here is a video of how it looks when you move the card:


I hope I have inspired you to try this out, the tutorial really explains well how to create the effect.  I would love to see your creations, please share them with us at Kraftgali Fan Club on Facebook!
Until next Thursday, happy crafting!

Candice

Happy Easter Card Set

Hi crafty friends! I'm back again this Monday morning to share a  couple cards made with the Lawn FawnEaster Party stamps set

For all three cards I used Lawn FawnCelebration Scripty Sentiments stamp set. I will be using this sentiment set alot. I love how it fits across a A2 card perfectly. For all three cards I stamped them with black Versafine ink and heat set glitter embossing powder on them. All of the images I stmaped onto water color paper with Versafine black ink and heat embossed with clear embossing powder. I colored them all in with Arteza Real Brush markers and fussy cut them out.


This first card I die cut a large stitched rectangle out of yellow pattern paper and adhered it to a 5 1/5"X 4 1/4" card base. For some thing bold I die cut a smaller rectangle out of bold black polka dot pattern paper. 

I adhered three flower girls and attached a row of flowers in front of them. Then I attached the sentiment below the flowers to finish of the card.


The second card was a little more simple. I used solid paper in bold colors. I adhered the bright pink frame with foam tape to give more dimension to the card.


I adhered the flower girl and the sentiment with foam tape. The whole panel was adhered to a 5 1/5"X 4 1/4" card base. 


The last card I used more soft colored cardstock.


I adhered the little flower girl and duck to green and blue cardstock to have them look like they are standing outside. The whole panel then was adhered to a 5 1/5"X 4 1/4" card base. 

Thanks for stopping by today!