Summer Camping!

Morning friends!
How many of you look forward to summer weekends camping?  We sure do!  Although we are tent campers, I always love seeing the campsites that are all set up with the camper, gnomes and flamingos!  Here is my take on those campers.

I used a few brands to create this card, all of which can be found at the Kraftgali shop!


To create my slim line card base, I trimmed an 8 1/2 x 11 thick white cardstock to 8 1/2 x 3 1/2 card base and used the leftover piece for my scene.  This size allows you to use the 9A envelopes that can be found at online or at your local craft store.

To begin, I inked the top of the front piece with a ray stencil using spun sugar and squeezed lemonade oxide inks.  I then die cut the mountains from thick white cardstock and the caps from white foil paper.  Next, I die cut the hills and grass and inked each with bundled sage and shabby shutters.


I stamped the camper and pine trees from Lawn Fawn Happy Trails stamp set, the gnome, mushrooms, and flowers from Lawn Fawn Oh Gnome stamp set, and the flamingo and sentiment from Sunny Studios Fabulous Flamingos.  I colored them very lightly with copic markers and fussy cut most of them out and used the coordinating dies to the fabulous flamingos. 


To put it all together, I layered each section, pop dotting the grass above the camper and pop dotting the camper, trees, gnome and flamingo.  For a simple embellishment, I added white nuvo drops.

Are you creating some summer cards too?  Please share them with us at the Kraftgali Fan Club on FB and check out all the brand names in the Kraftgali store!

Thanks for stopping in,
Candice

Lawn Fawn Village Box Card

Happy Monday crafty friends! I hope you all had a great weekend mine was crazy busy we just finished a season of dance with a recital. 

We are getting into the busy days of summer. My daughter had a birthday a couple of weeks ago so the card I have to share is the one I gave her. 


I just learned how to make a box card this is my second one. I'm not sure why I took so long to learn they are easy and so much fun. I will be making many more in the future. 


I enjoy just coloring small images and fussy cutting them out when watching t.v. with my family so I always have extra pieces laying around for box cards. 


I cut all of my panels out of Bella Blvd. pattern paper. 


For this card I used Lawn Fawn's Village set I stamped all of the images onto water color paper and colored them in with Arteza real brushes before I fussy cut them out. 


This is a front view of the card. I adhered a white piece of card stock to the back panel so I could write a little message to my daughter and sign the card. I think the back is perfect for a little panel to write on because when the card is displayed that panel is not shown.


Here is a side view. I thought the house paper would go with the little village inside of the card. 


The other side of the card. 

Have a great week I will be back next Monday! 
~Crystal 

Memory Box Double Stitched Heart Dies

Hello everyone!  Welcome back to our Saturday craft day!  We are having a blast playing with alcohol inks and dies.  No stamping required today!  I’m going to make my background first and then add a bit of fun to it with some foiling before using it to cut down my heart dies using the Memory Box Double Stitched Heart Dies.  The end result leaves me with two card projects today so you know that’s always a great thing!  Thanks so much for stopping by!


Make a Splash with Sunny Studios!

Hi Kraftgali friends!

Today I have a bright underwater card for you using the new Sunny Studios Best Fishes stamp set and Best Fishes coordinating dies.


I absolutely love creating underwater cards!  I started this card by trimming thick white cardstock a little smaller than the card front and die cutting different stitched circles.  I then inked watercolor paper with peacock feathers, broken china, and tumbled glass oxide inks and pop dotted the circle frame over it.


I stamped all the images from the Sunny Studios stamp set, colored with copic markers, and cut out using the coordinating dies.  Next, I heat embossed the sentiments with white embossing powder on thick black cardstock.

To put it all together I glued the sentiment strips onto the frame and adhered the best fishes images at varying heights for dimension.


For my embellishments, I added nuvo drops in orange, blue, and clear.

I would love to see your underwater creations and you can share them on the Kraftgali Fan Club Facebook page!

You can check out all the brand name products at the Kraftgali shop.
Thank you for visiting!
Candice

Lawn Fawn Farm Animals Birthday Card.

Happy Monday!

WOW I can't believe we are already into June! 

This week I wanted to play with Lawn Fawn's Hay There stamp set. My daughter wanted a card for her music teacher for her birthday and too say goodbye because she will be teaching at a different school next year. 


I started by stamping all of  the images onto smooth cardstock with Momento black ink which is my favorite to stamp images in that I want to color with alcohol markers it dries fast and doesn't bleed at all with the markers. 


After I colored them all in I fussy cut them out.  I found some pattern green and blue paper to use for the scene with the animals. 


I matted the scene onto soft blue cardstock then onto flower pattern carstock. I made sure the pattern had red I felt it needed more red so the barn was not the only think on the card which was red. 


I don't normally do anything inside of my cards but this time I thought it would be cute to add the little sheep inside and stamp the sentiment "EWE ARE THE BEST" underneath it. 


I add the sentiment "HAPPY BIRTHDAY" on the top above the animals and "FROM THE WHOLE HERD" underneath the animals. I though this sentiment was cute for a teacher from many students in her class. 


Thanks for stopping by today! Hope you have a great week!
~Crystal

Altered Box - Mixed Media Tutorial


Main Supplies Used -

• Finnabair Mixed Media Essentials Set (Clear, Black & White Gesso)
 ——— https://amzn.to/30Zxsvb [ Amazon US ] 

• Finnabair White Sand Texture Paste
 ——— https://amzn.to/2QEwXC2 [ Amazon US ] 

• Finnabair 3D Gloss Gel
 ——— https://amzn.to/2MoI2sm [ Amazon US ] 

• Decoart Metallic lustre Black Shimmer Wax
 ——— https://amzn.to/2WGB3Pu [ Amazon US ] 

• Decoart Metallic Lustre Champagne Ice Wax
 ——— https://amzn.to/2W8W2X4 [ Amazon US ] 

• Small Storage Box W/ Hinged Lid
 ——— https://amzn.to/2EJaoYf [ Amazon US ] 
 ——— https://bit.ly/2QKmxkw  [ JoAnn US ] 

• Tim Holtz Metal Word Keys
 ——— https://amzn.to/2WE7iyF [ Amazon US ] 

• Tim Holtz Metal Regal Ornaments - Wings Charm
 ——— https://amzn.to/2Mzfah4 [ Amazon US ] 

• Black Microbeads
 ——— https://amzn.to/2Wcxlst [ Amazon US ] 

• Random chipboard Embellishments

Altenew Flowing Butterflies Stencil

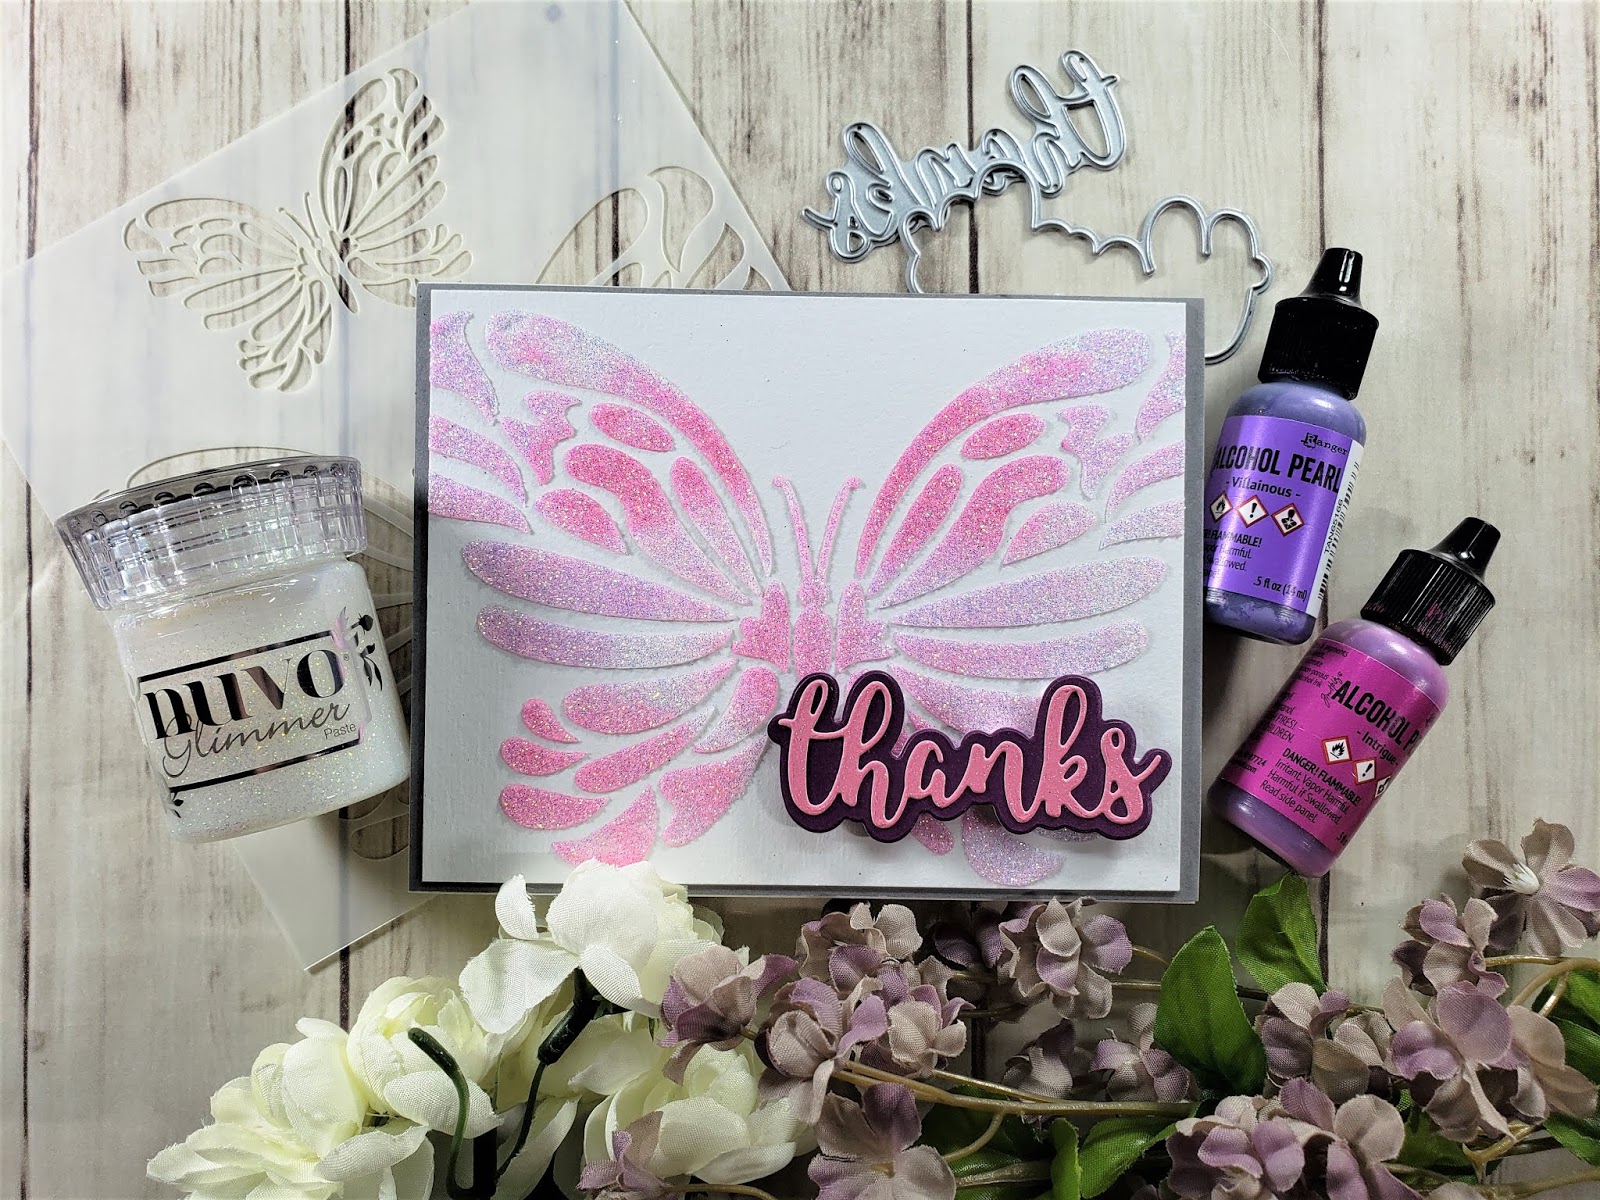
Hello crafters!  Happy Crafterday (yes I did that! Haha) Sometimes you need a fun, wow technique that does not take 20 years to do!  So today we are doing just that.  This technique showcases how to change up your embossing paste to get a marbled look and leave behind tons of sparkle.  This is a must try!  Thank you so much for stopping by to craft with us! 

Here are some photos of the inspired card from the event I talk about in the video.