Lawn Fawn Farm Animals Birthday Card.

Happy Monday!

WOW I can't believe we are already into June! 

This week I wanted to play with Lawn Fawn's Hay There stamp set. My daughter wanted a card for her music teacher for her birthday and too say goodbye because she will be teaching at a different school next year. 


I started by stamping all of  the images onto smooth cardstock with Momento black ink which is my favorite to stamp images in that I want to color with alcohol markers it dries fast and doesn't bleed at all with the markers. 


After I colored them all in I fussy cut them out.  I found some pattern green and blue paper to use for the scene with the animals. 


I matted the scene onto soft blue cardstock then onto flower pattern carstock. I made sure the pattern had red I felt it needed more red so the barn was not the only think on the card which was red. 


I don't normally do anything inside of my cards but this time I thought it would be cute to add the little sheep inside and stamp the sentiment "EWE ARE THE BEST" underneath it. 


I add the sentiment "HAPPY BIRTHDAY" on the top above the animals and "FROM THE WHOLE HERD" underneath the animals. I though this sentiment was cute for a teacher from many students in her class. 


Thanks for stopping by today! Hope you have a great week!
~Crystal

Altered Box - Mixed Media Tutorial


Main Supplies Used -

• Finnabair Mixed Media Essentials Set (Clear, Black & White Gesso)
 ——— https://amzn.to/30Zxsvb [ Amazon US ] 

• Finnabair White Sand Texture Paste
 ——— https://amzn.to/2QEwXC2 [ Amazon US ] 

• Finnabair 3D Gloss Gel
 ——— https://amzn.to/2MoI2sm [ Amazon US ] 

• Decoart Metallic lustre Black Shimmer Wax
 ——— https://amzn.to/2WGB3Pu [ Amazon US ] 

• Decoart Metallic Lustre Champagne Ice Wax
 ——— https://amzn.to/2W8W2X4 [ Amazon US ] 

• Small Storage Box W/ Hinged Lid
 ——— https://amzn.to/2EJaoYf [ Amazon US ] 
 ——— https://bit.ly/2QKmxkw  [ JoAnn US ] 

• Tim Holtz Metal Word Keys
 ——— https://amzn.to/2WE7iyF [ Amazon US ] 

• Tim Holtz Metal Regal Ornaments - Wings Charm
 ——— https://amzn.to/2Mzfah4 [ Amazon US ] 

• Black Microbeads
 ——— https://amzn.to/2Wcxlst [ Amazon US ] 

• Random chipboard Embellishments

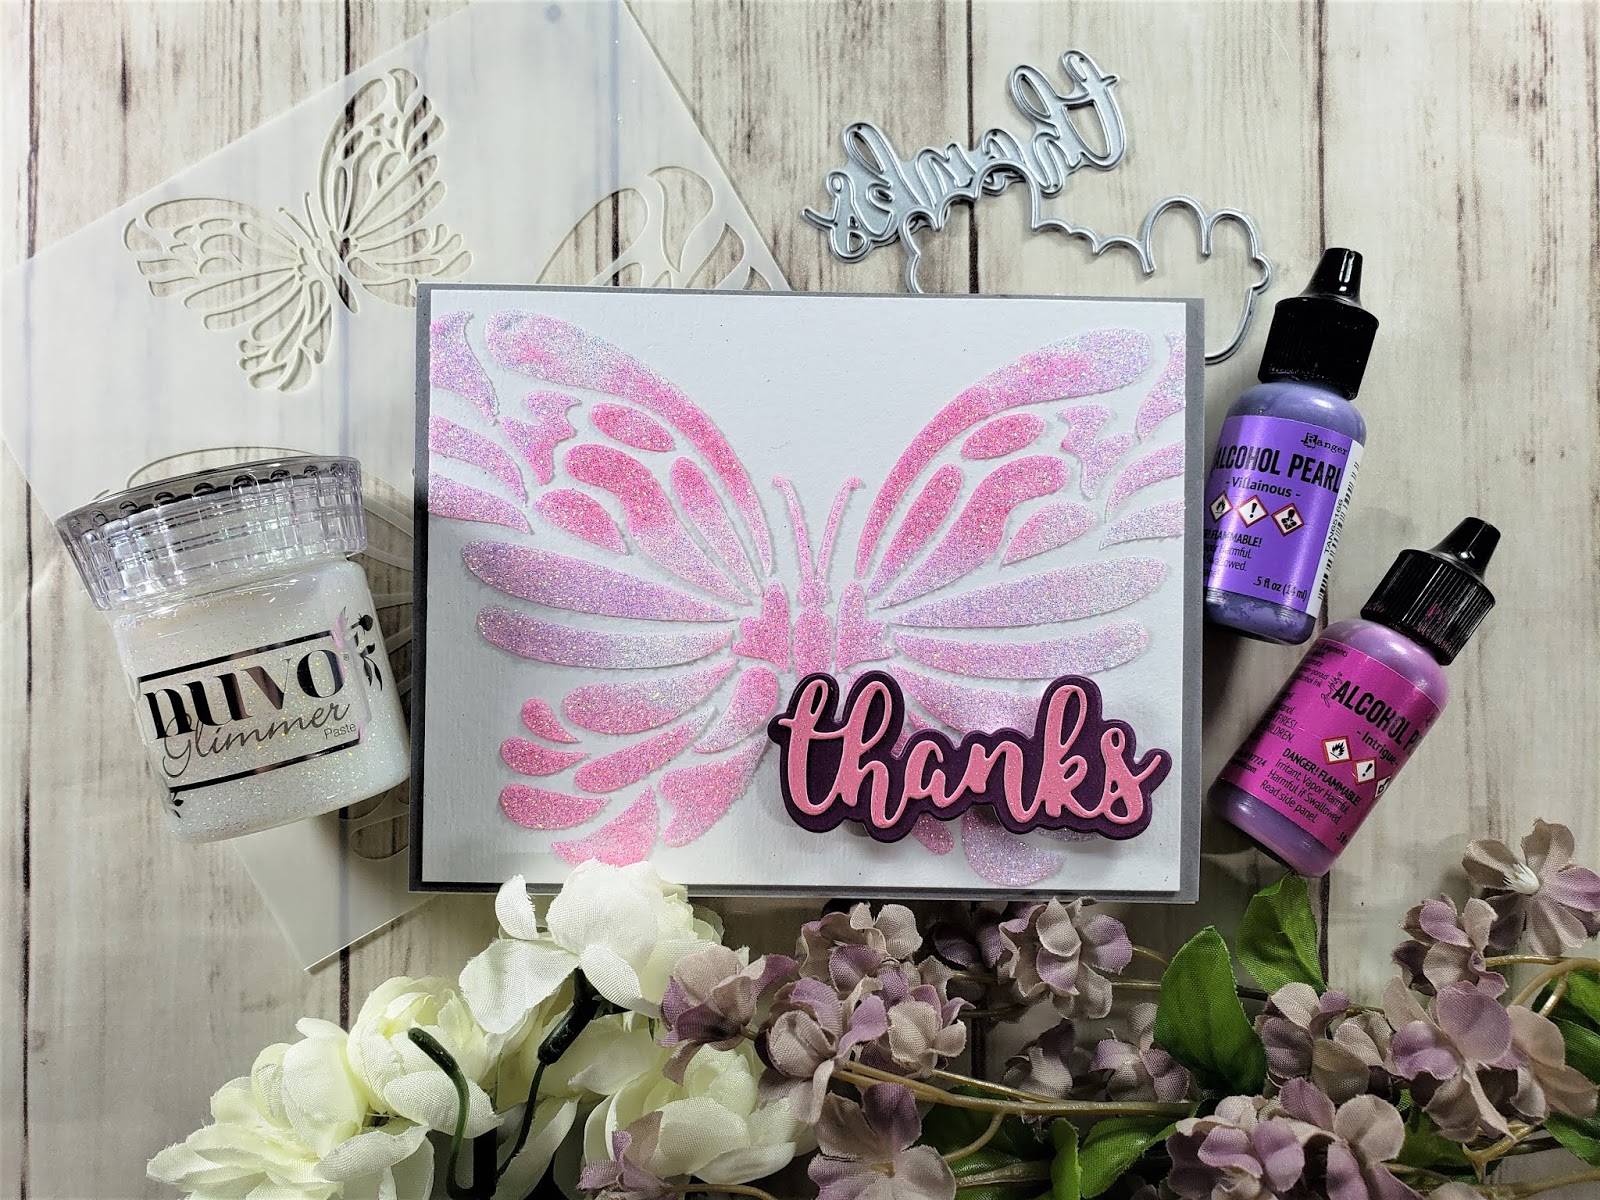
Altenew Flowing Butterflies Stencil

Hello crafters!  Happy Crafterday (yes I did that! Haha) Sometimes you need a fun, wow technique that does not take 20 years to do!  So today we are doing just that.  This technique showcases how to change up your embossing paste to get a marbled look and leave behind tons of sparkle.  This is a must try!  Thank you so much for stopping by to craft with us! 

Here are some photos of the inspired card from the event I talk about in the video.  


A Sunny Studios Slothful Belated Birthday!

Hello my fellow crafters!
I have a simple and soft summery belated birthday card for you today using the new Sunny Studios Silly Sloths stamp set and Fluffy Clouds dies.


I love impactful cards that really don't take a lot of time and this one fits that perfectly!  To begin my slim line card I trimmed an 8 1/2 x 11 sheet of thick white cardstock to create an 8 1/2 x 3 1/2 card base.  With the leftover piece, I trimmed to fit a little smaller than the card front and die cut three stitched frames.


For the background, I inked some watercolor paper with tumbled glass oxide ink and then embossed with the fluffy clouds.  I then pop dotted the frame over the background.

I stamped the sloths, leaves, and flower with memento black ink, colored with copic markers, and fussy cut out.  I added them to each frame with pop dots.


For the final touches, I heat embossed the sentiments on kraft banners using black embossing powder.  I then die cut some fluffy clouds from thick white cardstock and pop dotted onto the front trimming the top cloud.

For my embellishments, I added nuvo drops in green and blue and some white sequins.

I am loving the new Sunny Studios summer sets and you can also check out all the top brands at the Kraftgali shop!

Please share your creations with us at Kraftgali Fan Club on Facebook!

Thanks and I will see you next Thursday!

Candice

I Have So Mushroom in My Heart For You

Happy Monday crafty friends! 


This week I have a card to share using Lawn Fawn's Oh Gnome stamp set. I started this card out by stamping the largest mushroom on the front of my paper then masking it to stamp the other mushrooms on either side. I then masked the smaller mushrooms and stamped the flowers. 

If masking is new to you I just use a full sticky post-it not stamp the image onto it then fussy cut it out. I fussy cut out as close to the line as I can or even cut the line off. Lawn Fawn images are perfect for masking the lines are very thick and the images are easy to cut out perfect if you are new to masking.


After I stamped the mushrooms and flowers I stamped the adorable gnomes. I masked them off and worked on inking my background. After the inking was done my gnomes looked a little funny to me so I re-masked them and stamped the flowers along the inked grass line.

Another tip if you are masking after you are done masking keep those masks so you can use them on another project! I just stick them to the acetate that the stamps are stored on.   


After I colored all of the images in using alcohol markers I die cut a rectangle with a circle out of the middle to frame my scene. I adhered the red cardstock over the scene using foam tape to add some dimension to the card. 


I stamped part of the sentiment "i have so MUSHROOM" on top of the circle and the other half "in my heart for you" under the circle. I heat set it with white embossing powder. The sentiment stamps are straight so to get a curve from them I used a piece of acetate over my project to shape the stamp then closed my stamp positioner and it picked the stamp up in the curve I wanted. 


Thanks for stopping by today.

Make sure and check out the shop for the sale going on now!

 I hope you have a great week!
~Crystal 

Simple Shaker with Concord & 9th

Hey everyone!  We are pulling out a few great products from different companies and get to playin’!  We are making a simple shaker with some simple ink blending…see a theme here?? Sometimes simple can have a wow factor too!  Concord & 9th and Neat & Tangled are the stars of the show today.  Thanks so much for stopping by! 


Flamazing News!

Welcome back crafters!
Today I am sharing a bright and fun welcome baby card using the new Sunny Studio's Fabulous Flamingos stamp set and Fabulous Flamingos coordinating dies along with Avery Elle's Market Stand stamp set and Stuck on You stamp set


I started my card with a 5 x 6 1/2 card base and die cut a stitched piece of watercolor paper and then inked using a sunray stencil with mustard seed and squeezed lemonade oxide inks.  I then embossed and die cut the clouds using Sunny Studios Fluffy Clouds dies directly onto the background and from thick white cardstock. 

Next, I die cut three strips of grass gluing the darkest green down over the sun ray. 


I stamped all the images from Sunny Studios Fabulous Flamingo stamp set, and Avery Elle's Market Stand stamp set and Stuck on You stamp set using memento black ink, colored copic markers, and cut the flamingos and leaves using the Fabulous Flamingos coordinating dies and market stand dies. 


To put the card together, I layered all of the images with pop dots in varying heights for dimensions to create a fun and bright scene.


I added the sentiments on the market stand and on the banner.  For my final touches, I added sequins in green and yellow.

I have been enjoying creating bright and summery cards lately!  If you make some, please share them with us at Kraftgali Fan Club on Facebook!

You can check out all the new Sunny Studio products in the Kraftgali shop!

Thanks so much for swinging in!

Candice