Thank you so much for playing the Kraftgali Card Challenge #2. So much creativity! We were blown away!!
This challenge features SPRING.
Here is the winning entry for this month by Rosali. Please click on the image to view the entire post.
Congratulations to the winner! Please email us at kraftgali@outlook.com before Thursday, April 5, 11:59 pm PST to claim your prize, or it will be passed over to next person.
Remember... The April challenge will go live on April 1st. Don't forget to come and play!!
Hello everyone and thank you so much for stopping by the blog! Today, I'm doing a super simple shaker card that I feel packs a big punch. Whenever you use clean line, symmetrical shapes for your shaker cards, the results are seamless, easy to assemble, and a fun card for your recipient.
I started off the card by making a fun watercolor background and then stenciled over it with Distress Oxides to get the water affect. While letting that dry, I worked on my mermaid. She was so fun to color with my alcohol markers! After that I cut a frame using Lawn Fawn rectangle stitched dies and attached heat resistant acetate so that I could emboss my sentiment on it.
When heat embossing on acetate, remember to move your heat gun around a bit; don't stay too long on one area. Ask me how I figured THAT one out. lol Assembly of the card was so easy and came together seamlessly! I used double mounted foam tape on the back of the frame, and then poured these amazing sequins down on my background. I placed the frame over it and bam...shaker done!
Thank you so much for crafting with us today. Head over to the shop for some amazing deals and new products!
Hi Crafty Friends! I’ts Noga and today I'm here to share with you a party tray with Wild Ones - Neat & Tangled stamps set. I made this big project for Neat & Tangled Party ensemble challenge.
Hello everyone! Today's project features alcohol inks, making a fun, bold galaxy background. This was so much fun to make and I LOVE this cute stamp set by Lawn Fawn called Beam Me Up!
I started off inking up my Yupo Paper with different colors of alcohol ink. I added some alcohol blending solution along the way to mix the colors and I also used a straw to help things along by blowing on the inks.
After getting the colors the way I liked, I took some white acrylic paint and put a dab on my clear block. I added a spritz of water and then splattered the paint on my card using both a paint brush and a toothbrush.....yes a toothbrush! THAT'S how you get the "millions of stars" look.
I stamped and colored my little aliens and then added googly eyes to the big one and dots of Glossy Accents to the smaller alien. I backed them on some vellum because they would have gotten lost otherwise. Lastly, I backed the card panel onto a pink glitter cardstock, and then on the Neenah 110lb white card base, making sure to round the corners of all of the layers.
Thanks so much for crafting with me today! Let me know if you have any questions!!!
The monster was stamped from the stamp set Little Monster - Neat & tangled stamps on smooth white cardstock using Jet Black Ink, colored in with Copic Markers BV04, BV02, V17, BV13, C1, C3, C5, R35 and R29.
The muffin colored in with Copic Markers: Y17, E37, E15, R29, R35 and the top was covered with Glossy Accents
Hello everyone!!! Thanks so much for crafting with me today. I'm doing a Design Team Project for Kraftgali using these SUPER easy Memory Lights to bring a little summer our way! I think we are all ready...at least for Spring. Memory Lights take the guess work completely out of interactive, light up cards! LOVE THEM! Thanks for stopping by. Let me know if you have any questions.
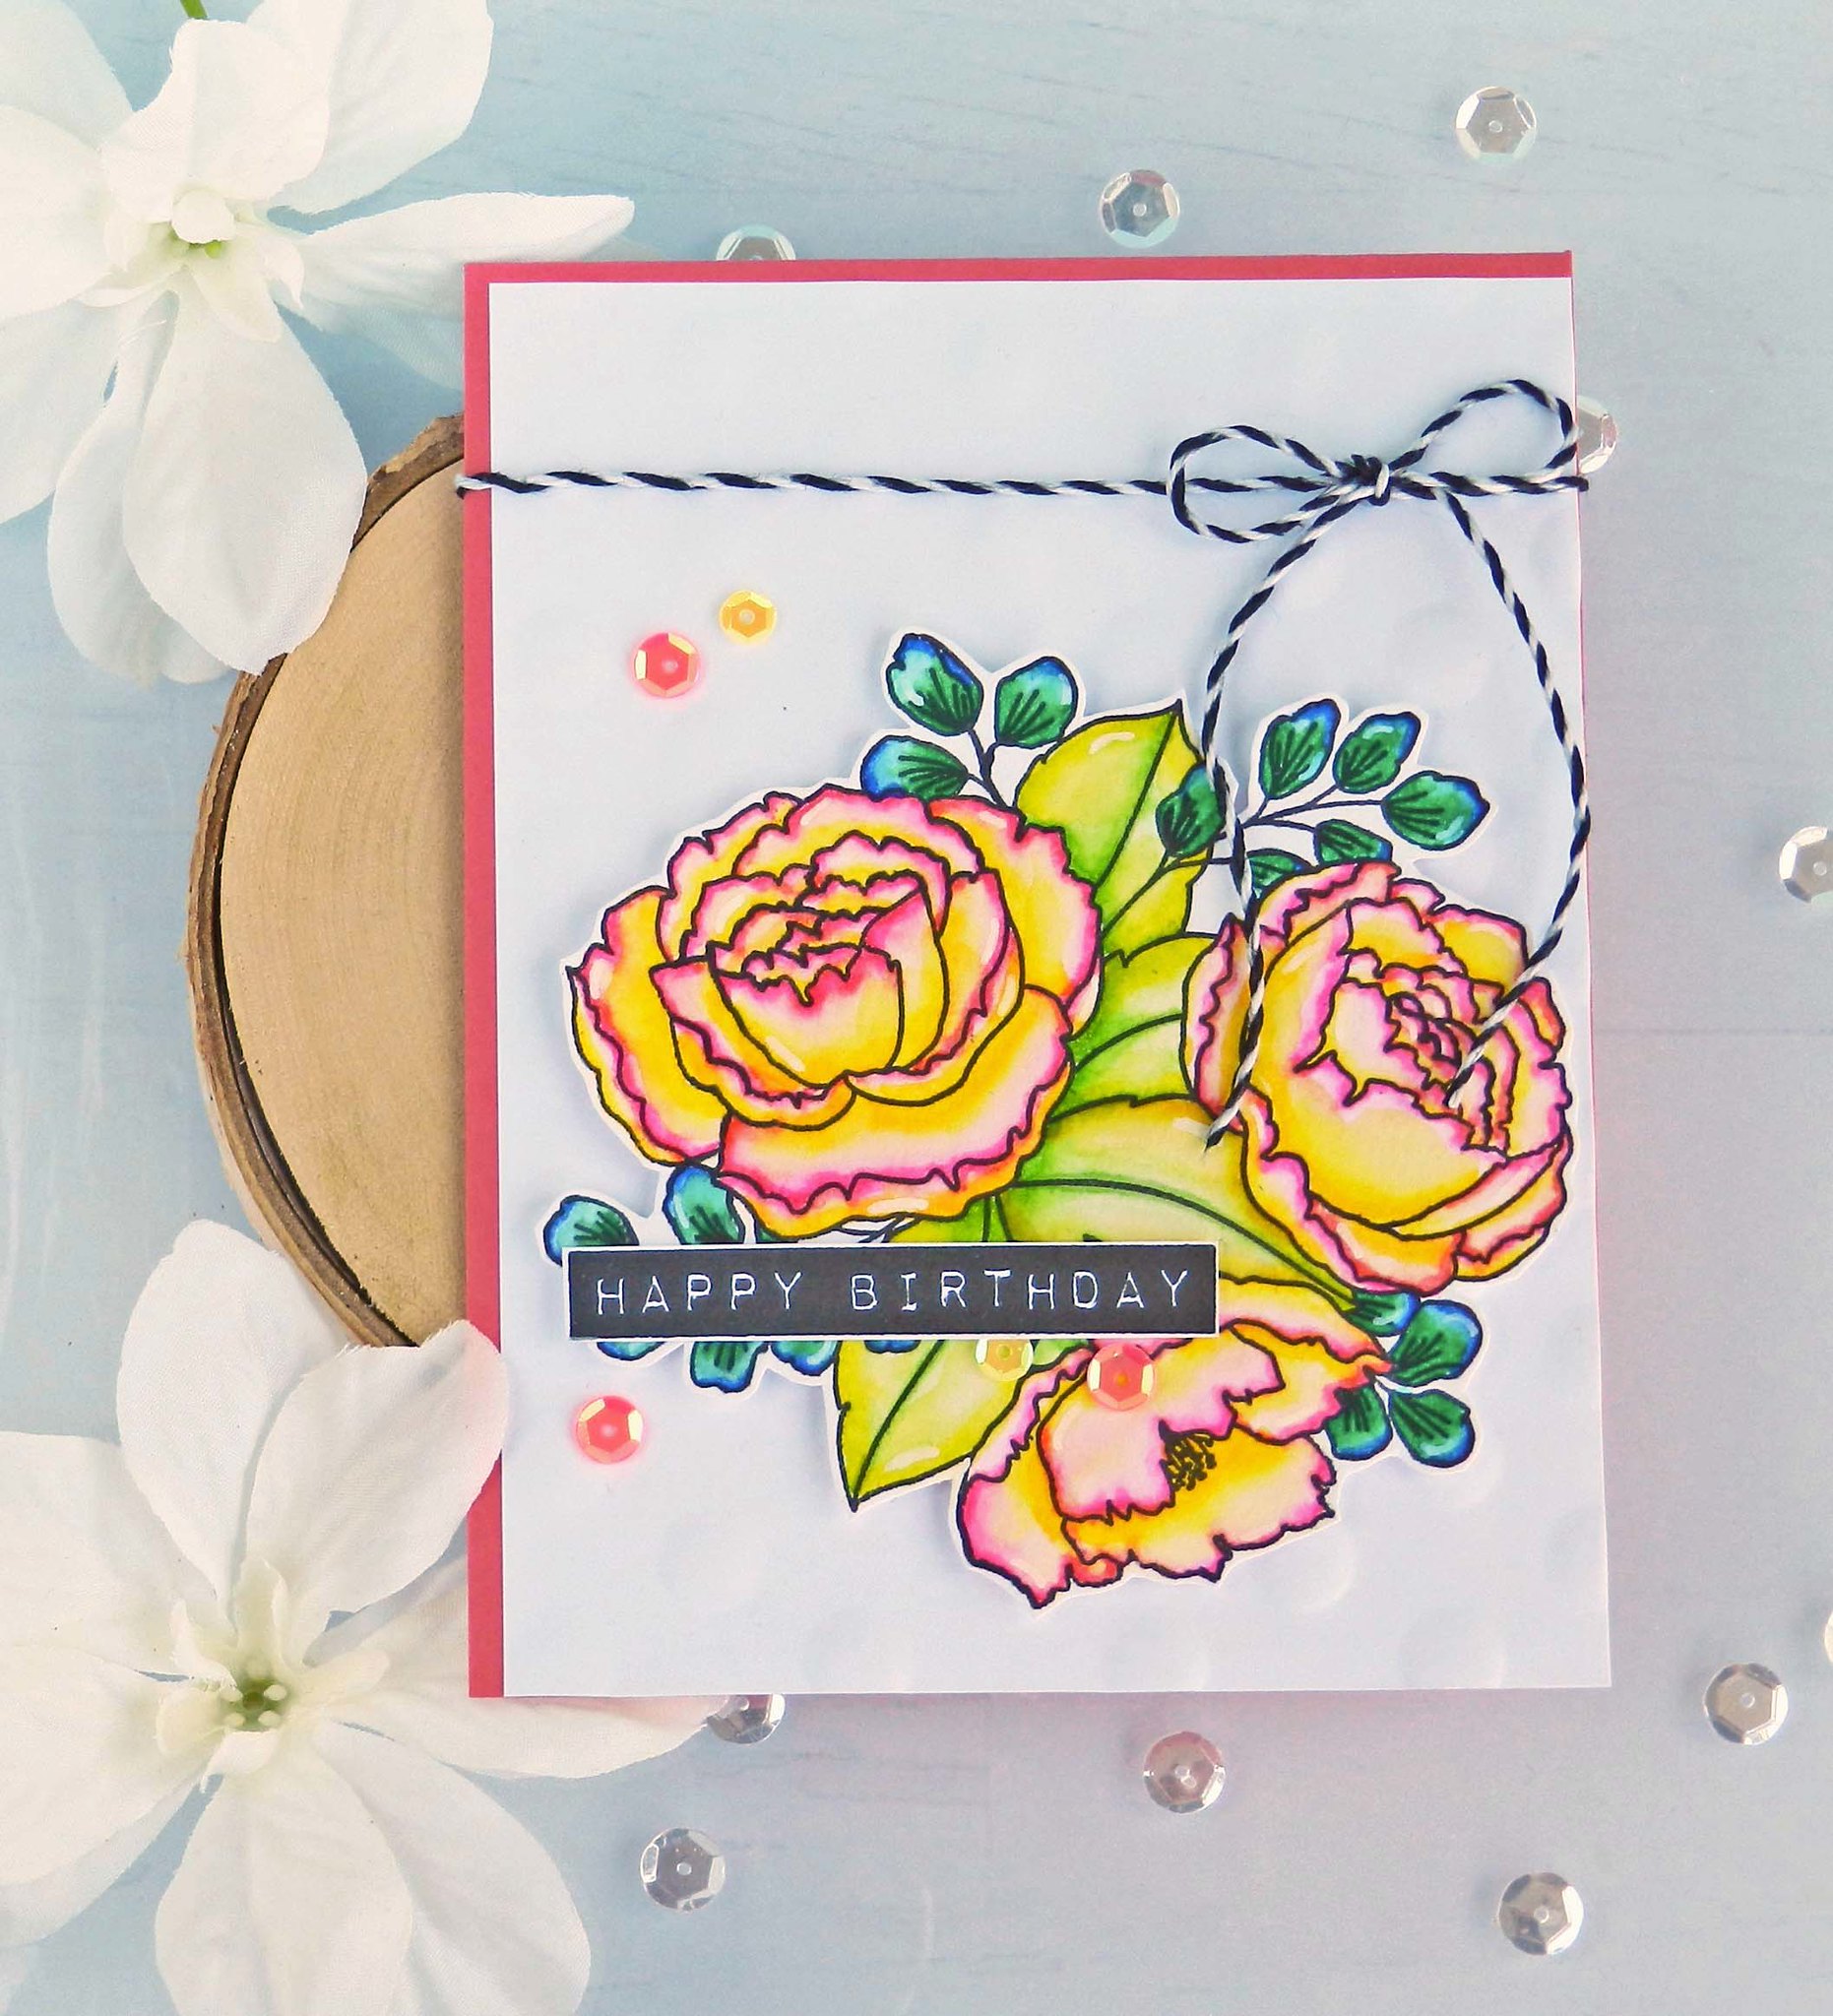
Hello everyone! Welcome back to the Kraftgali Blog! Today we are playing with this beautiful stamp set from Prima Marketing which has the most whimsical and fun feel and is perfect for water coloring. I stamped out my image using VersaMark ink and then heat embossed it with some clear embossing powder. I'm using Canson XL Watercolor paper since I will be doing some watercoloring with Inktense Pencils. This card was so fun to make and I got to practice this technique, which is always needed! When you heat emboss your image, you create an area for the water color to sit and it makes it easier to work with. That is a huge help as a beginner watercolorist! Once the image was completed, I cut it out and then decided to use an excessive amount to foam mounting tape to make it stand out on my card! Before I laid it down, I took to some Distress inks and covered my Bristol Smooth cardstock with a faded-out look. This really brightened up the card and gave it the Spring look I was going for! (Speaking of...don't forget to "Spring" forward this weekend with your clocks for daylight savings time!
We are also doing a really fun giveaway on the channel! Comment below the video on YouTube and share with us which new things you want to add to your stash this Spring! There are a lot of wonderful new products in the shop to get us in the crafty mood. The link to the Kraftgali Shop is below the pictures.